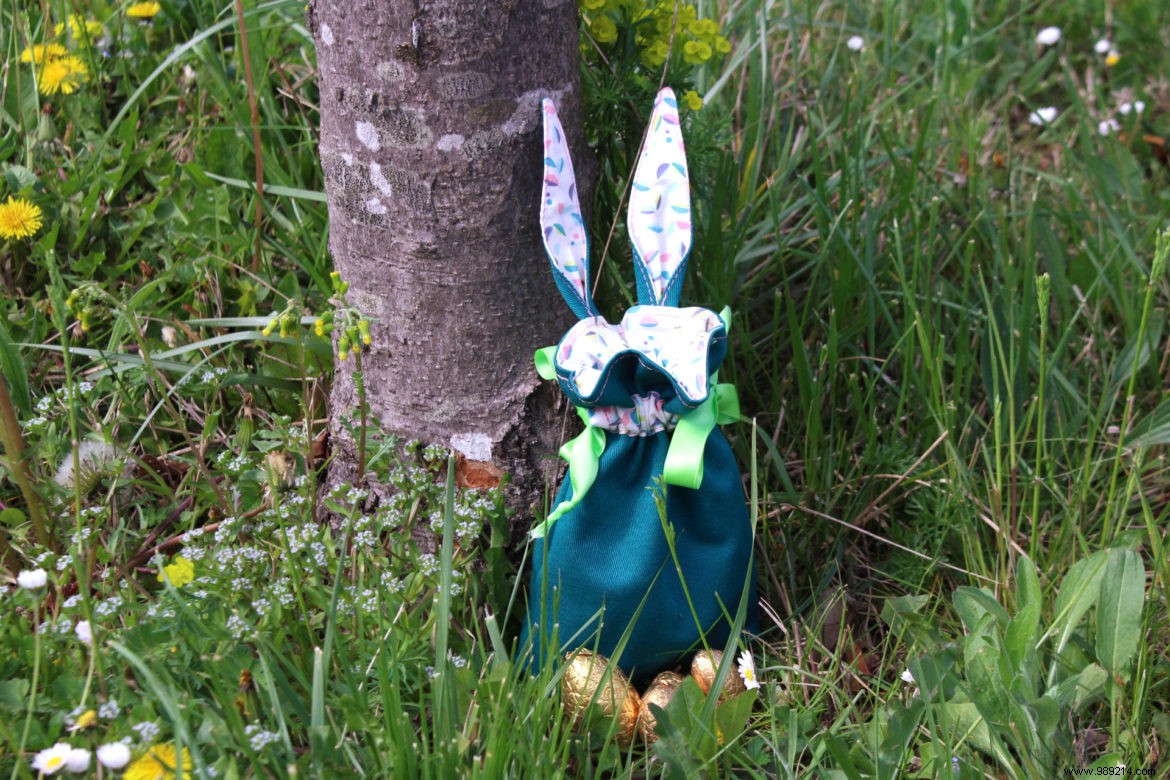
Easter heralds sunny days, but also the opportunity to create new DIYs for toddlers. Eggs, rabbits, chickens, each has its place in their imagination and amuses young and old!
Easy and quick to make, this pouch is also an opportunity to reuse fabric scraps from your previous projects. Count about 45 min of your time and get started!


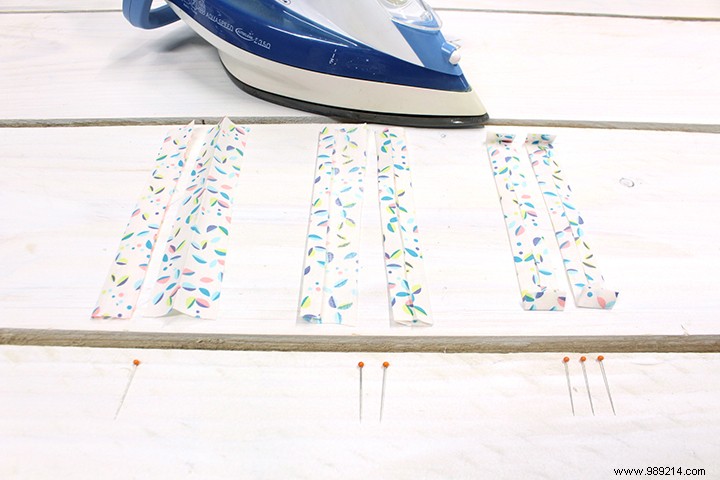
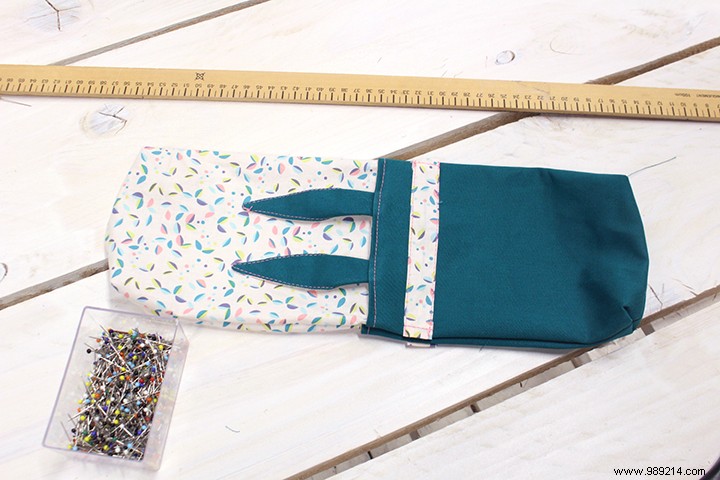
Topstitch each end of the two guides 6 mm from the edge.

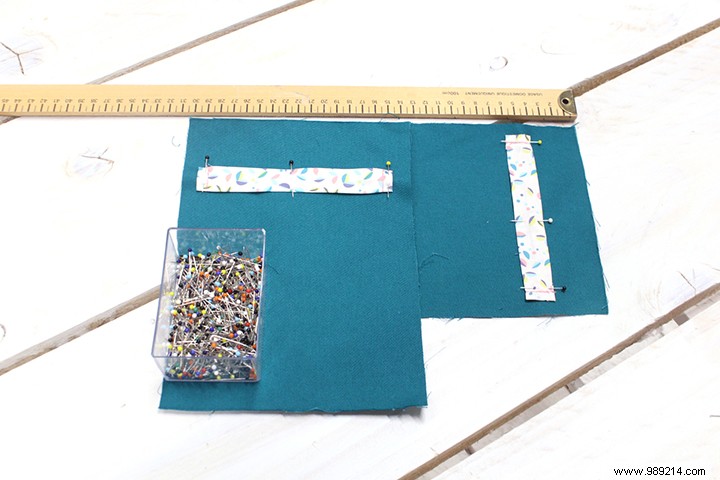
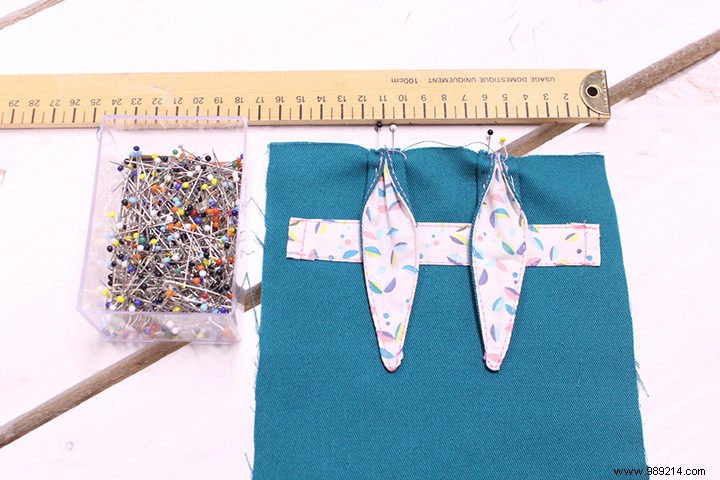
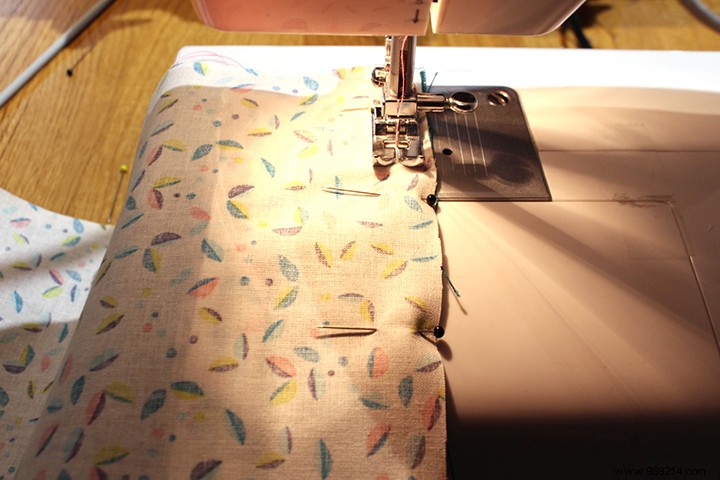
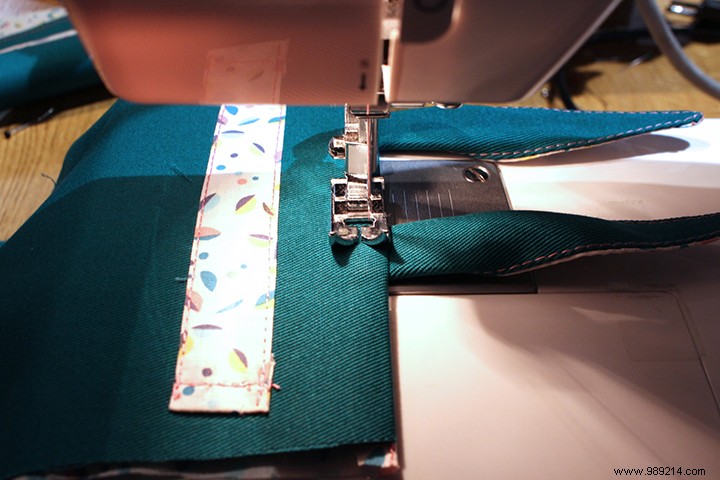
Center and pin the slides on the right side of the large twill rectangles 4 cm from one of the short sides.
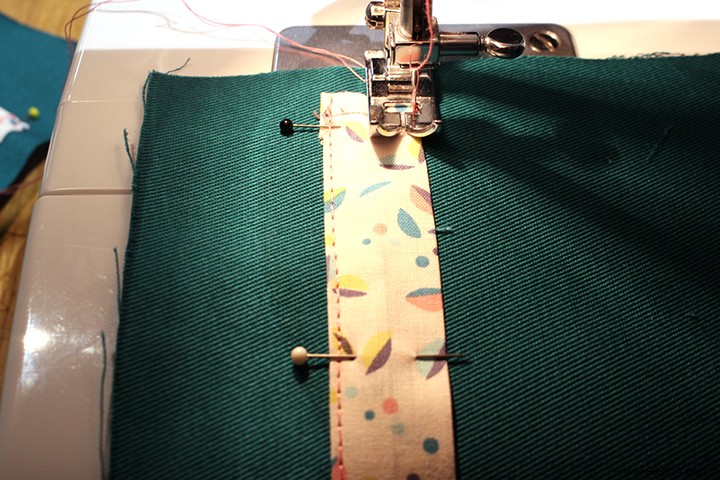
Topstitch the channel 1 mm from the edge of each of the long sides.
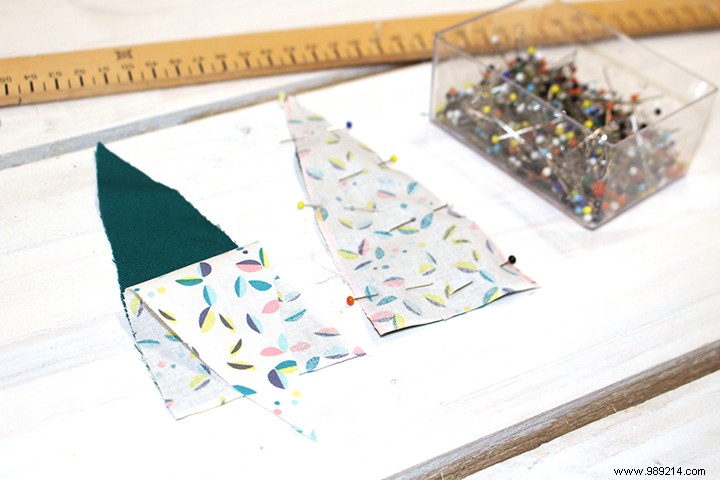
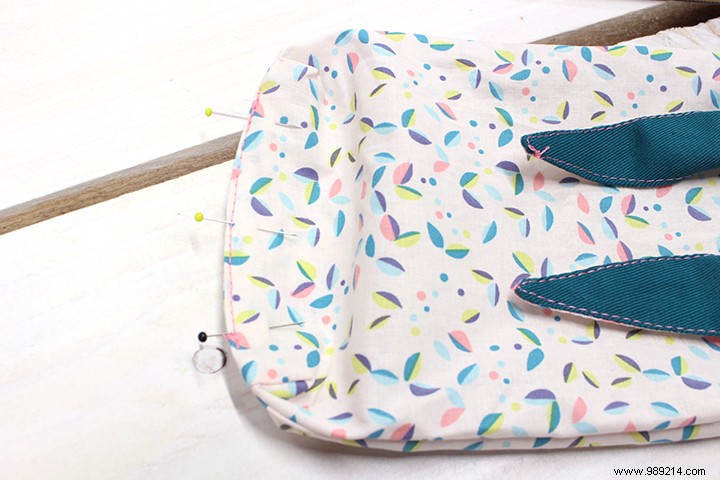
Pin each cretonne ear to a twill ear right sides together.
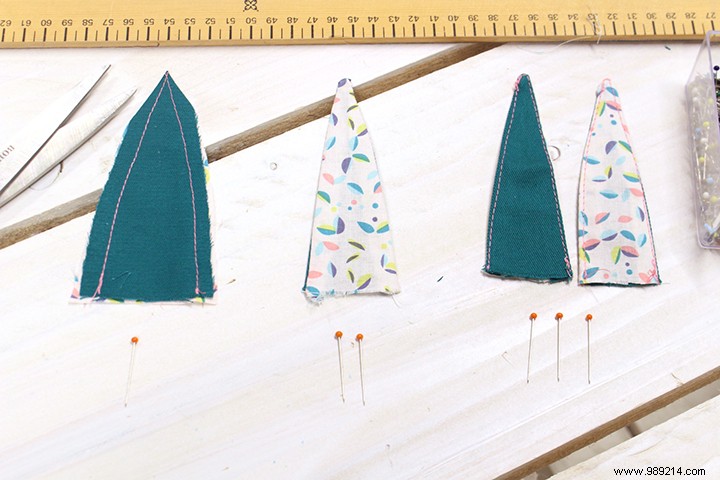
To shape the ears:
At the base of the ears, fold the corners inward on the side of the printed cretonne. Pin them, twill against twill, 5 cm from the sides of a large rectangle, on the edge close to the channel.
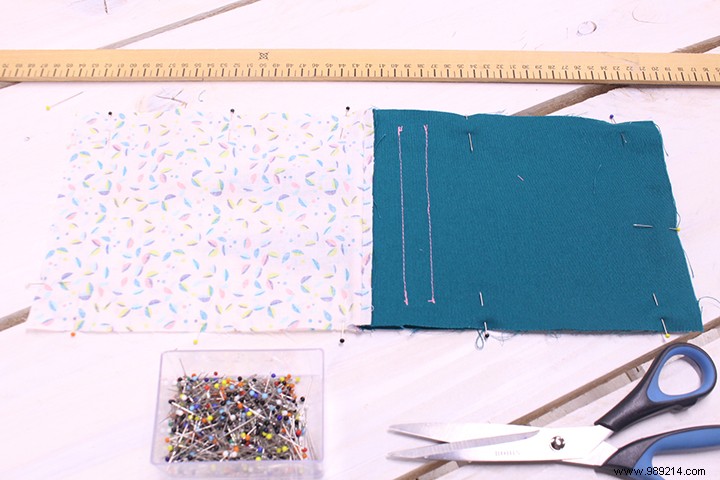
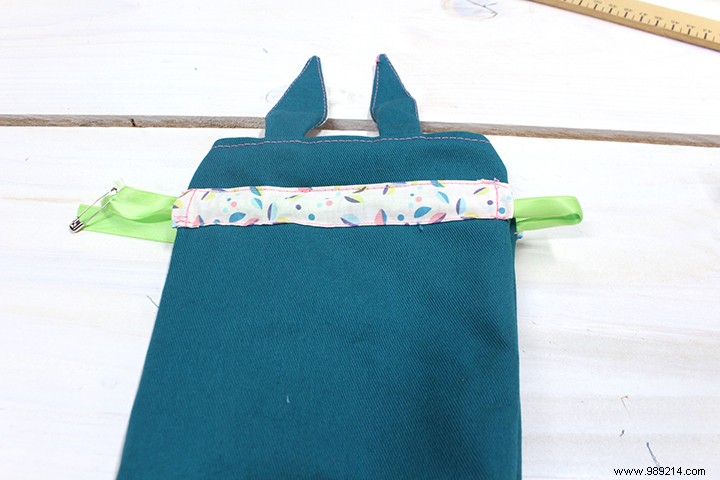
Place the 2 lining rectangles on each of the twill rectangles, right sides together. Pin together the edge closest to the channel.
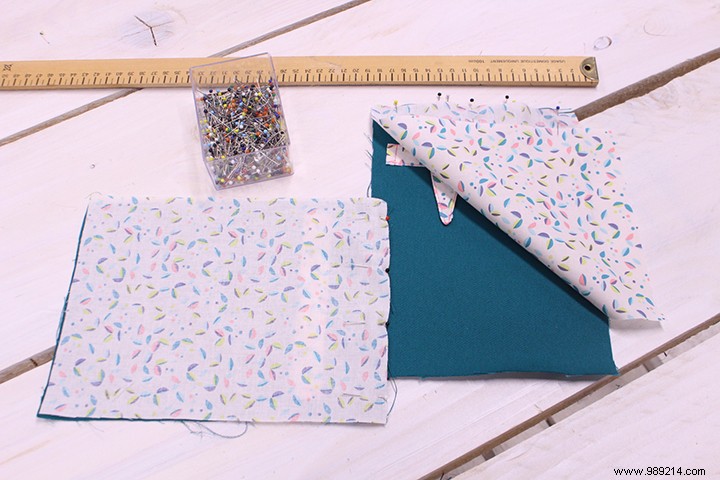
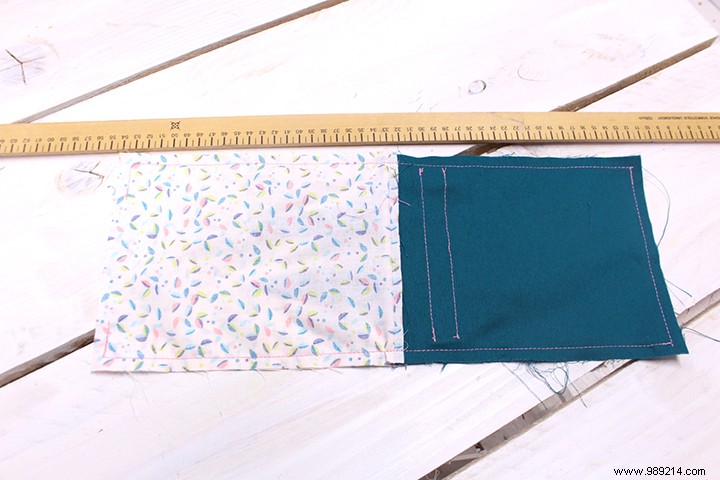
Stitch 1 cm from the edge.
Return to the location. Iron. Topstitch 6 mm from the edge.
Unfold each of the two assemblies, and pin them one on the other, right sides together, making the two cretonne rectangles and the two twill rectangles coincide.
Stitch all around 1 cm from the edge, leaving an opening at the base of the lining to be able to turn the whole thing over.
Pinch each of the corners of the lining and the outside of the pouch to give thickness by overlapping the bottom and side seams, thus forming a point.

Sew perpendicular to the bottom seam, 2 cm from the end of the point.

Turn the pouch right side out through the opening left in the lining.
Pin and topstitch the bottom of the lining 1mm from the edge.
Insert a first ribbon in a channel using a safety pin, then pass it through the opposite channel so that the two ends are on the same side. Do the same for the other ribbon, starting with the opposite side. Tie the ends of each ribbon.
Source:Mondial Tissus